FreePBX Version 15 PJSIP Trunk Configuration
Simtex SIP Trunks from $4.99/month
Business-grade SIP trunking with geo-redundant infrastructure, crystal-clear audio, and Australian-based support. Pay-as-you-go or unlimited plans available.
Overview
This is a step-by-step guide to configuring a Simtex SIP trunk on FreePBX 15 using the PJSIP (chan_pjsip) channel driver. FreePBX is a widely used, feature-rich graphical interface for Asterisk — freepbx.org
This guide assumes you already have FreePBX installed with the web GUI accessible. If not, download the latest 64-bit ISO from the FreePBX Downloads page.
What you'll need
- Your Simtex account number (e.g.
214XXXXXXX) - Your Simtex SIP password
- FreePBX 15 installed and accessible
- West Coast (AU):
siptcp.simtex.com.au - East Coast (AU):
siptcpeast.simtex.com.au
Choose the server closest to your location. FreePBX supports SRV record resolution — set the port to 0 and it will automatically discover our geo-redundant infrastructure.
In 99.9% of cases you do not require any ports forwarded on your router or firewall. If you are unsure, speak to us first.
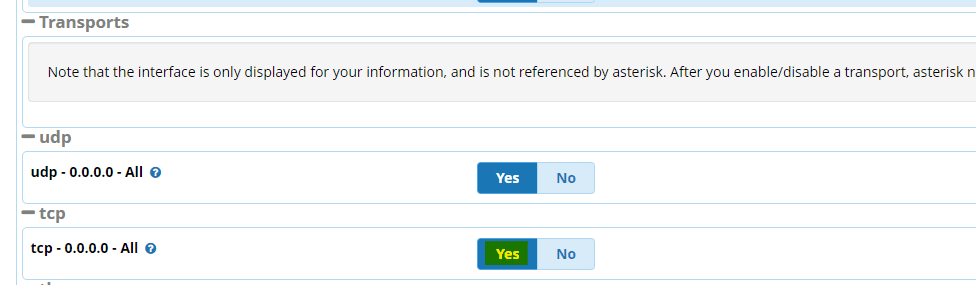
Step 1 — Enable TCP Transport
Before creating the trunk, you need to enable TCP transport in FreePBX.
- Go to Settings → Asterisk SIP Settings → SIP Settings [chan_pjsip] tab
- Scroll down to Transports
- Click Yes on TCP
- Submit and Apply Config
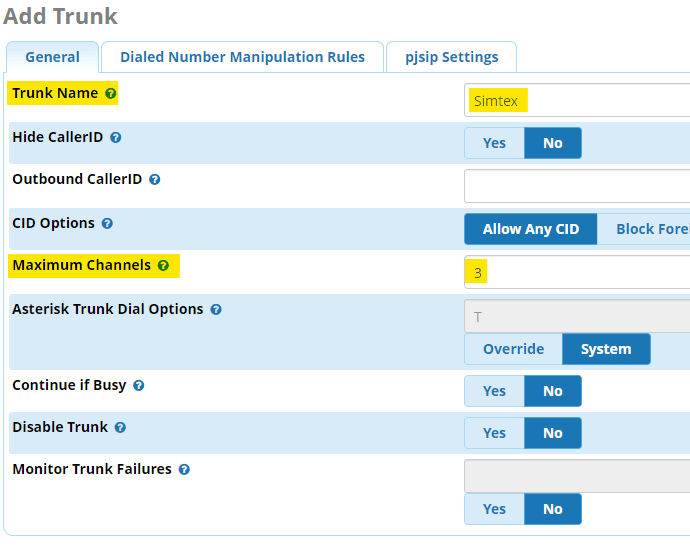
Step 2 — Create the SIP Trunk
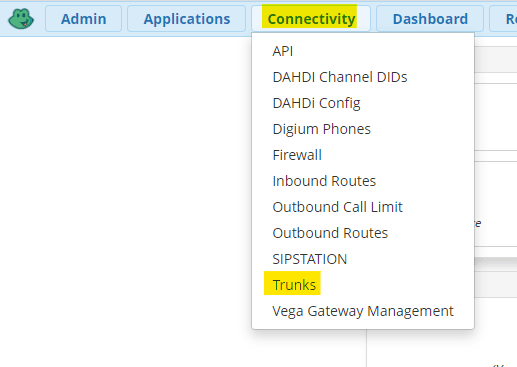
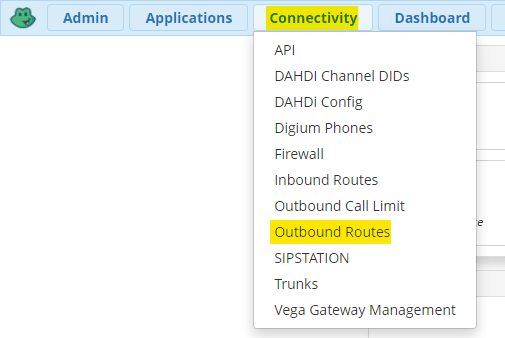
- Open the Connectivity menu and select Trunks
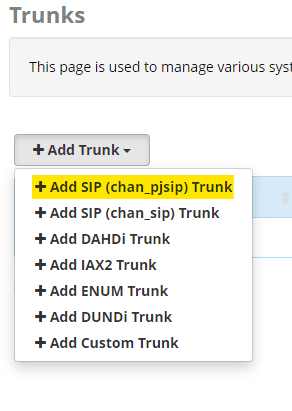
- Select Add SIP (chan_pjsip) Trunk
- Label your SIP trunk and specify the number of channels
Step 3 — PJSIP Settings
Click the PJSIP Settings tab and configure:
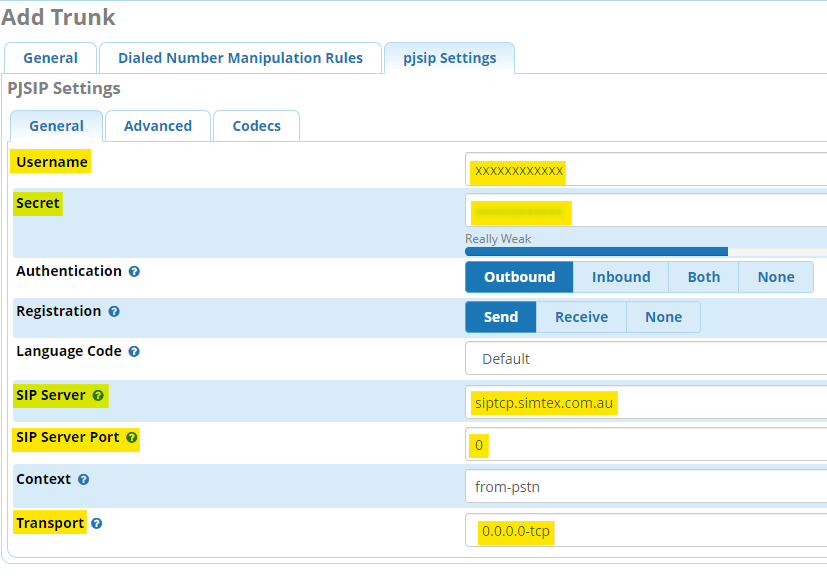
Username:        214XXXXXXX
Secret:          XXXXXXXX
SIP Server:      siptcp.simtex.com.au
SIP Server Port: 0
Transport: 0.0.0.0-tcp0, giving you automatic failover across our geo-redundant server farms. Do not set port 5062 here — let SRV handle it.siptcp.simtex.com.au with siptcpeast.simtex.com.au in the SIP Server field if your server is located on the East Coast of Australia.Step 4 — Advanced Settings
Click the Advanced tab and configure:
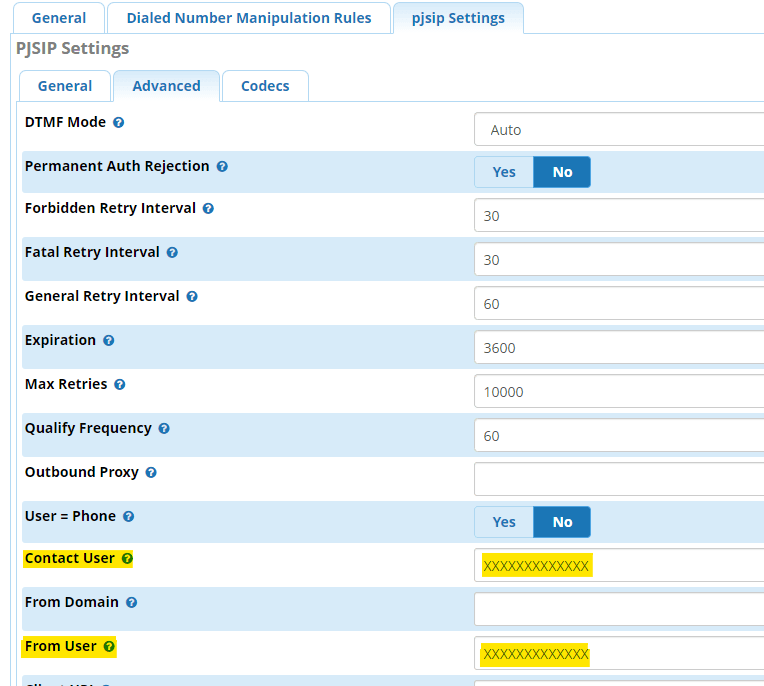
Contact User:    214XXXXXXX (same as username)
From User:       214XXXXXXX (same as username)
Trust RPID/PAI:  Yes
Send RPID/PAI:   Both
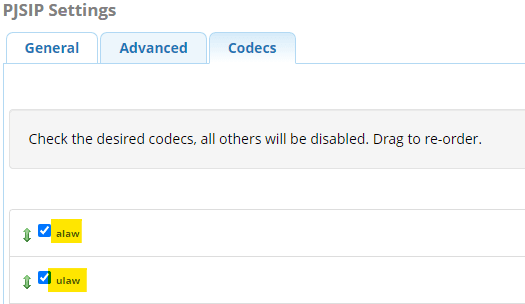
Codec Settings
Click the Codec tab and reorder codecs to have alaw first and ulaw second:
Step 5 — Outbound Routes
Outbound routes tell FreePBX what numbers it's allowed to dial externally and which trunk to use.
0) for all external calls. This ensures internal extension numbers never overlap with external destinations — a standard practice in Australia.0011 route pattern to prevent unauthorised international dialling.- Navigate to Connectivity → Outbound Routes → Add Outbound Route
- Label your route and select the SIP trunk you created
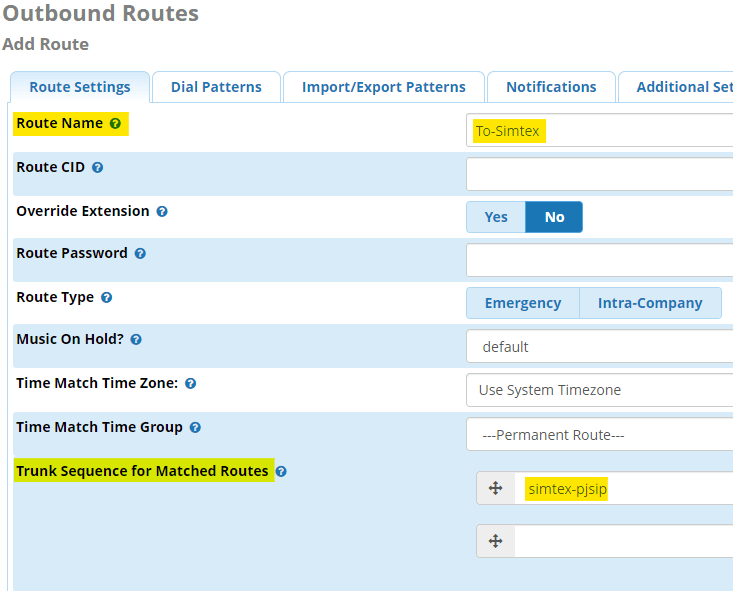
- Click Dial Patterns and configure your routes. The example below accepts a leading
0, strips it off, then sends the remaining digits to the Simtex trunk.
Step 6 — Inbound Routes
Inbound routes direct incoming calls to your allocated DIDs. You can route individual numbers to different extensions, ring groups, IVR menus, etc.
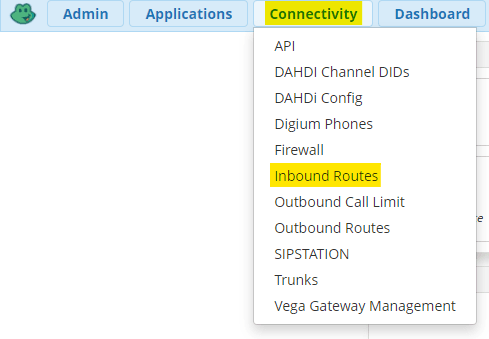
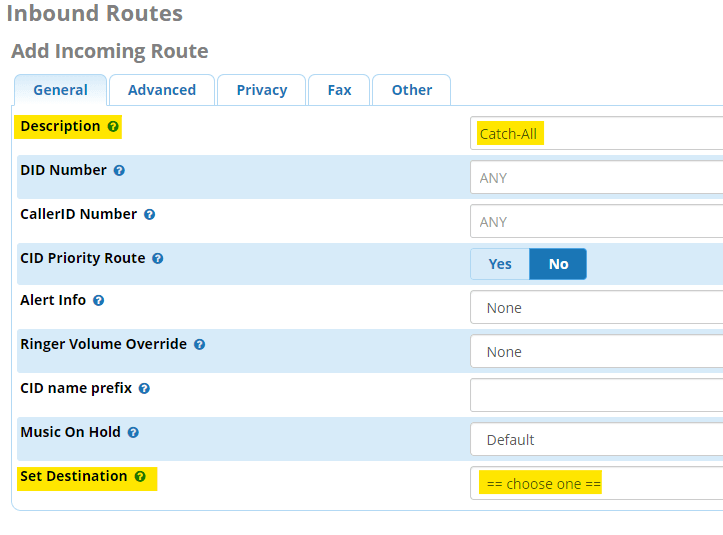
- Navigate to Connectivity → Inbound Routes → Add Incoming Route
- Create a catch-all route first — this handles any DID sent to your system that doesn't have a specific route. Most users point this at a receptionist or main hunt group.
- Add entries for individual numbers or blocks of numbers. You can use wildcard patterns such as
_618921133XX
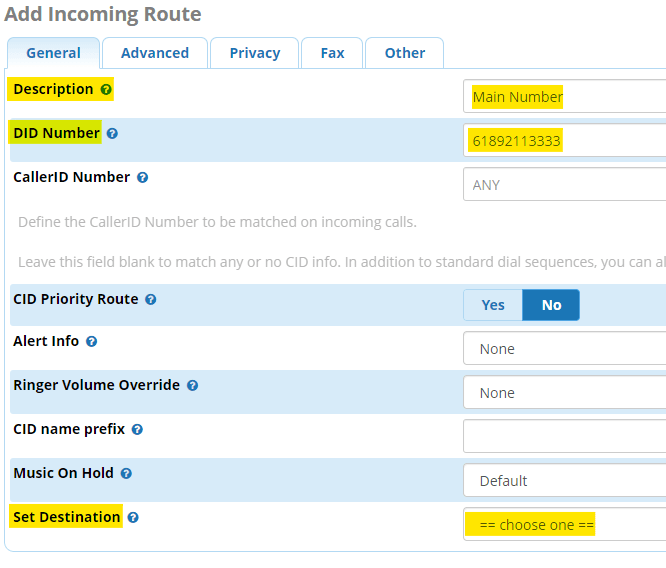
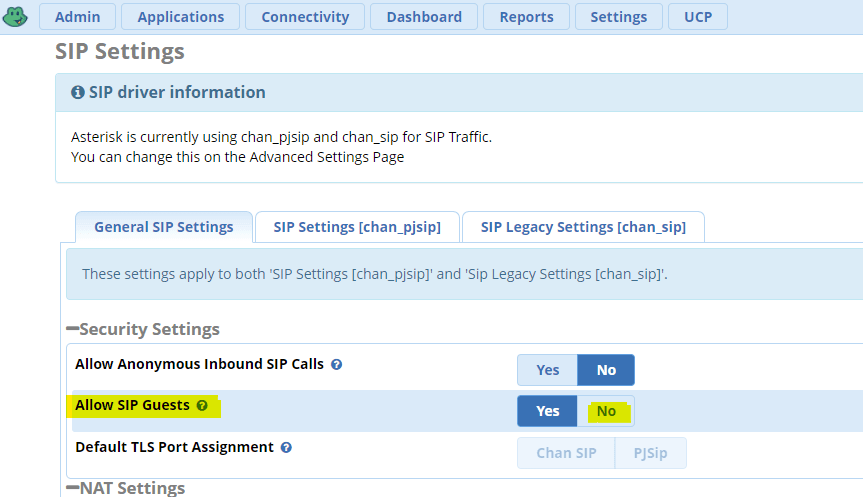
_618921133XXStep 7 — Disable SIP Guest
As a security hardening step, disable SIP guest access to prevent unauthorised calls:
- Go to Settings → Asterisk SIP Settings
- Under General SIP Settings, find Allow SIP Guests
- Set to No